CentOS 6.4 Features
Below are CentOS 6.4 Features added and removed:
* Added support for Microsoft Hyper-V drivers to allow CentOS to be more effective when installed on Microsoft Hyper-V server.
* Upgraded samba4 libraries (samba4-libs) to latest version to improve interoperability with AD (Active Directory) domains.
* If you were upgrading from earlier CentOS 6.3 to latest CentOS 6.4 version and you have Samba package in use, make sure you must remove it to avoid conflicts during upgrade process.
* Since CentOS 6.3 matahari is deprecated. But now CentOS 6.4 adds one more last update that will remove matahari completely. To make sure all matahari files are removed run ‘yum remove matahari*‘ after upgrading to 6.4.
* iasl, dev86 and qemu-quest-agent tools have been added for i386 architecture only.
Those who looking to upgrade from previous CentOS 6.x to CentOS 6.4, they can go through our earlier article that shows how to upgrading from CentOS 6.x to CentOS 6.4 by following few simple steps.
If you’re looking for fresh CentOS 6.4 installation, then download the .iso images from the links provided below and follow the installation instructions with screenshots mentioned below.
Direct Download CentOS 6.4 DVD ISO Images
Torrent Download CentOS 6.4 DVD ISO Images
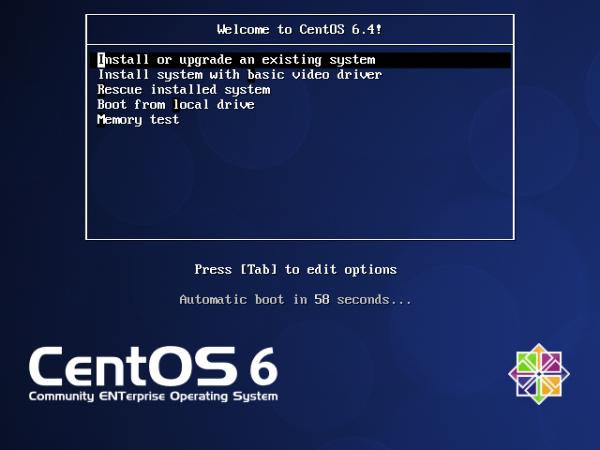
1. Insert or boot with installation media, ‘Select Install or upgrade existing system‘ options.
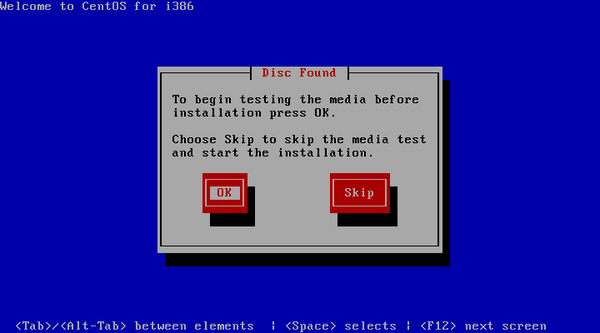
2. You may choose skip installation media check.
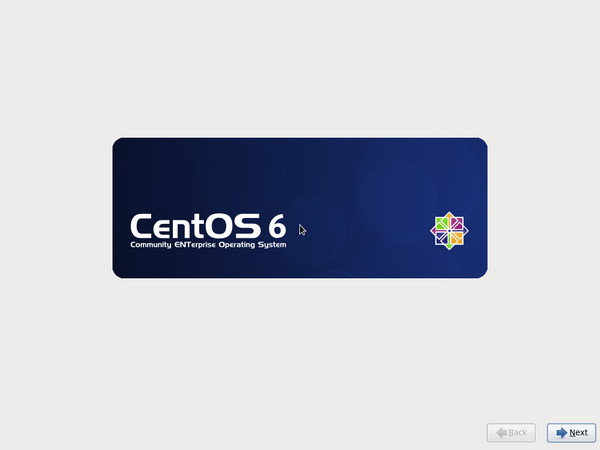
3. CentOS welcome Screen, press Next.
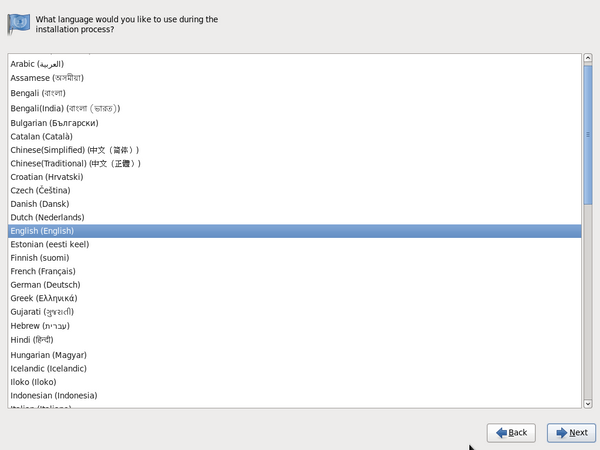
4. Select Language during installation.
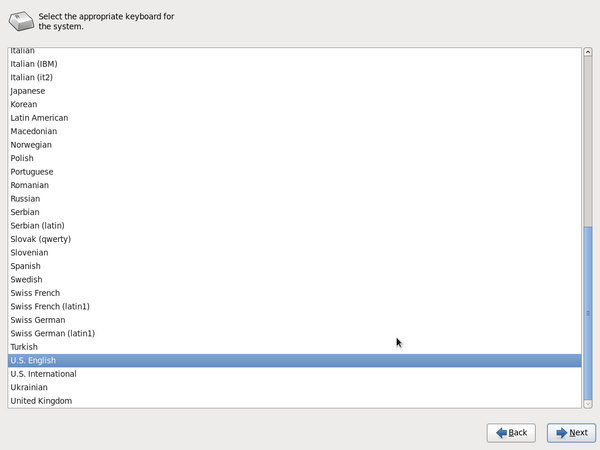
5. Keyboard layout selection.
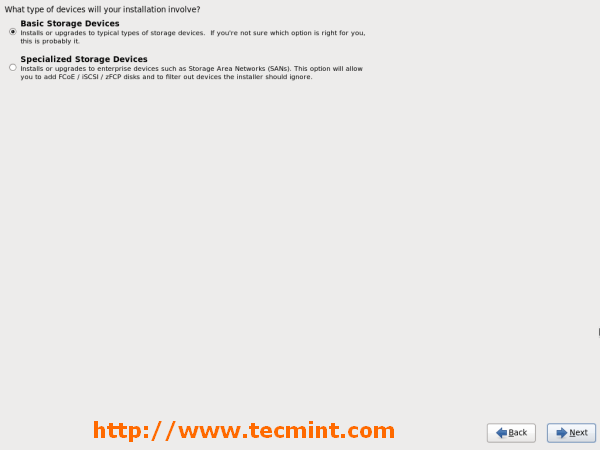
6. Select Basic Storage Device if your hard drive is attached locally else select Specialized storage devices. We’ll be selecting Basic Storage device as my Storage device is locally attached.
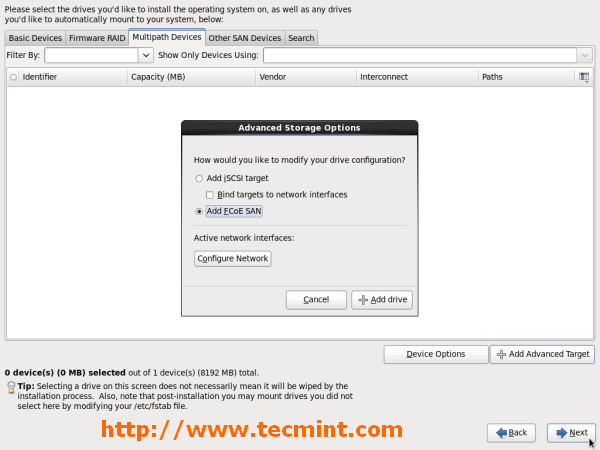
7. Below screen print shows Advanced Storage Options in case of Specialized storage devicesselection.
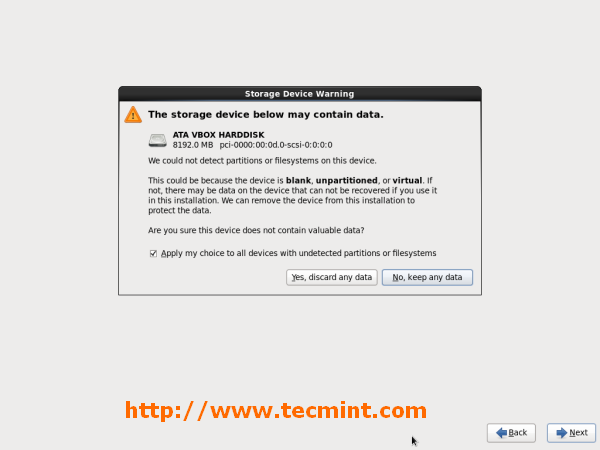
8. Storage Device Warning, you can click Yes, discard any data to continue.
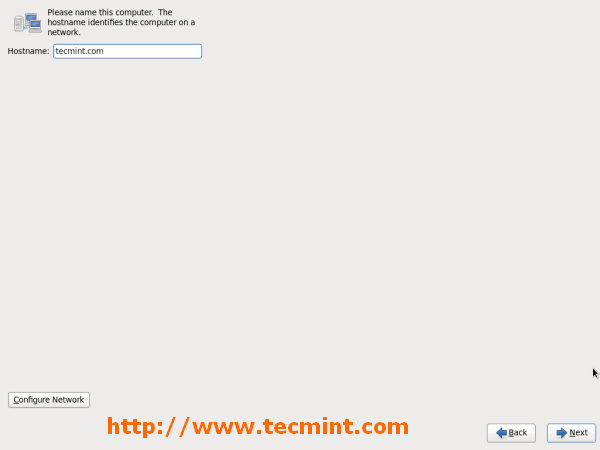
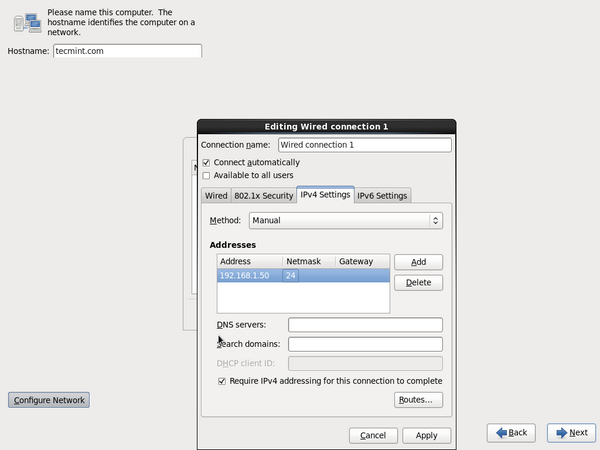
9. Give a Hostname to system. You may click on Configure Network button if you want to configure network settings during installation. Network may configure manually later on also.
10. Below screen print shows Configure Network Settings in case of Configure Networkselection.
11. Select nearest city in your Time Zone.
12. Set root password.
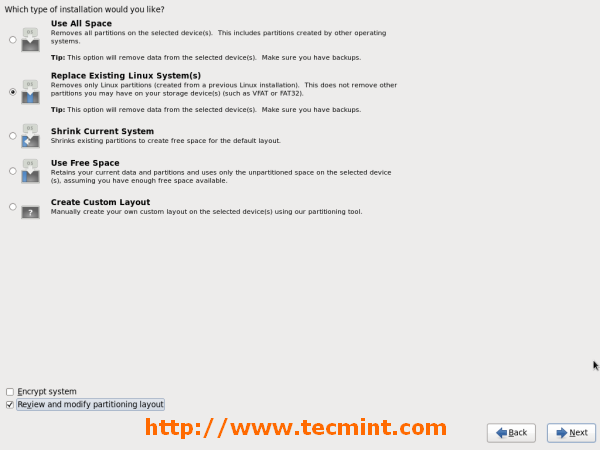
13. Select Replace Existing Linux Systems, Click on Review and Modify partitioning layout if you want to verify or edit filesystem partitions manually.
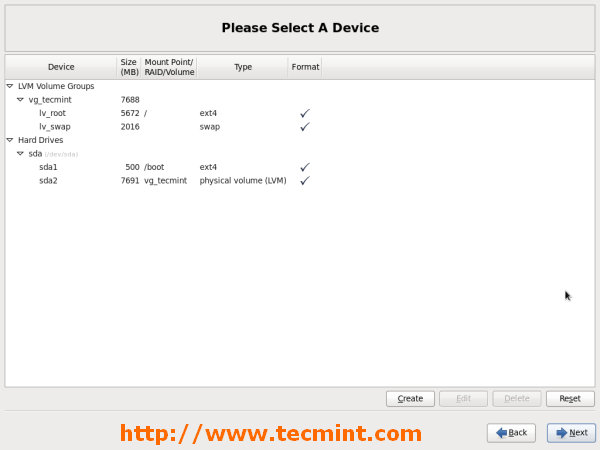
14. Verify Filesystem partitions, once satisfied Click on Next.
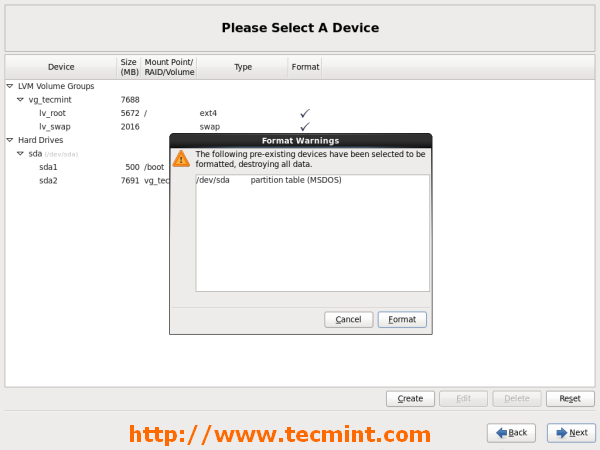
15. Format Warnings: Click on Next which will format Filesystems.
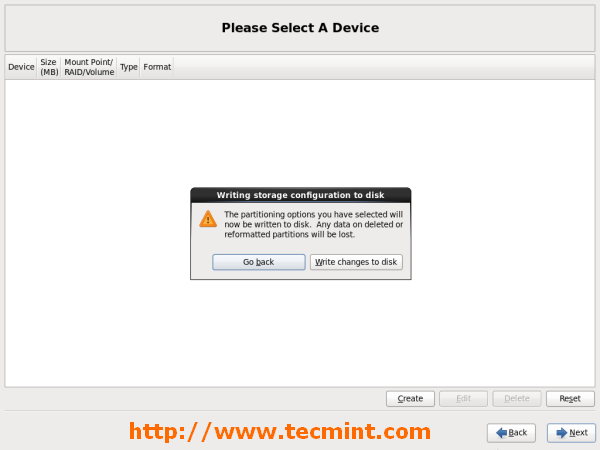
16. Click on Write changes to disk.
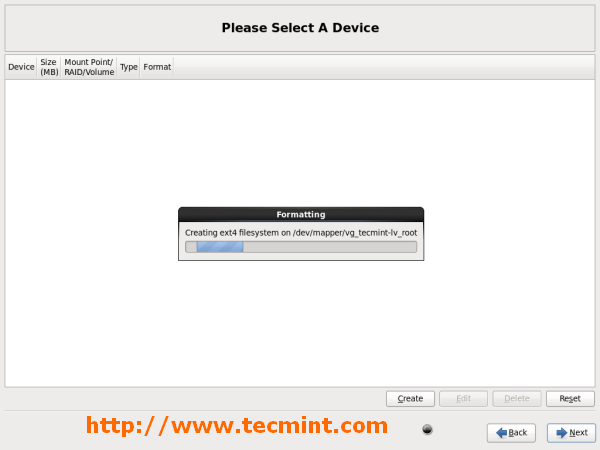
17. Formatting Filesystem.
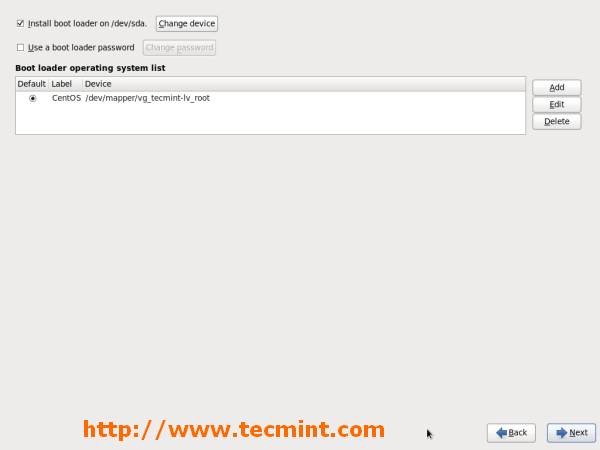
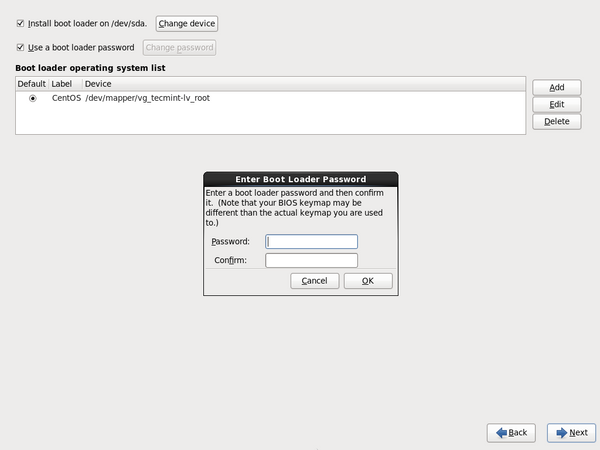
18. Boot loader installation.
19. We recommend to set Boot loader password in case of you system is accessing multiple users for security reason. Here, select check-box Use a boot loader password, set password and click on Ok
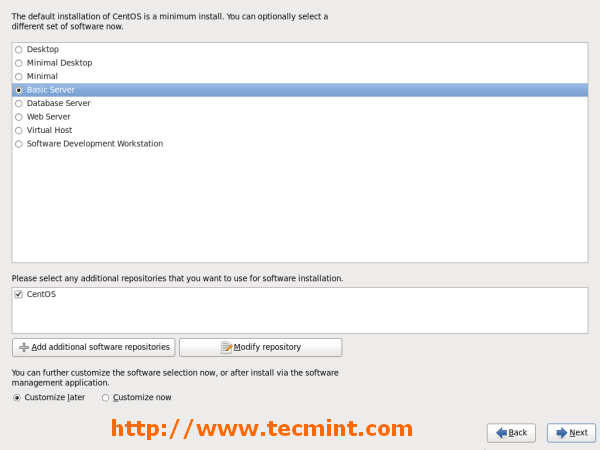
20. Select the applications you want to install and may choose Customize now option to add / remove repositories and click on Next
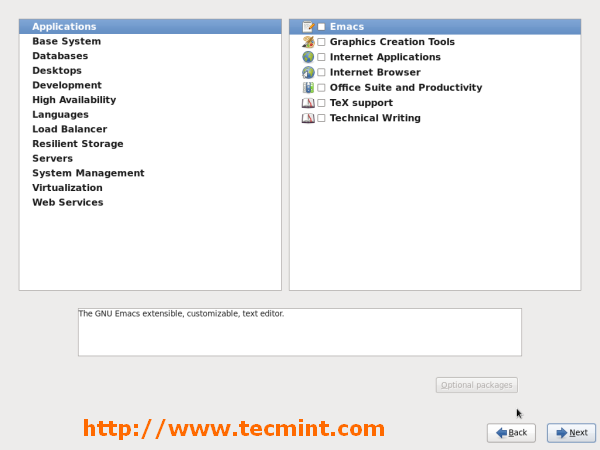
21. Customize packages / applications. On done click on Next
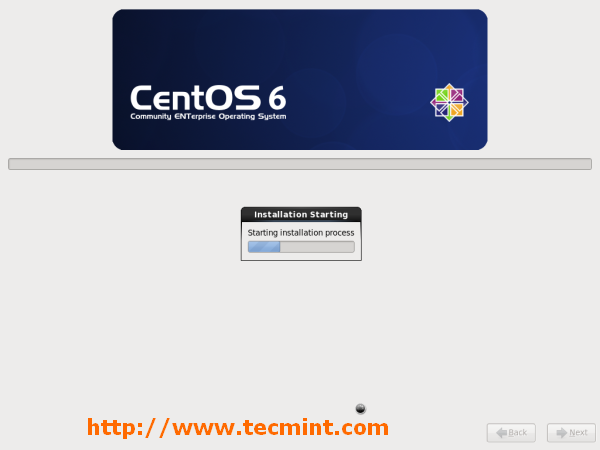
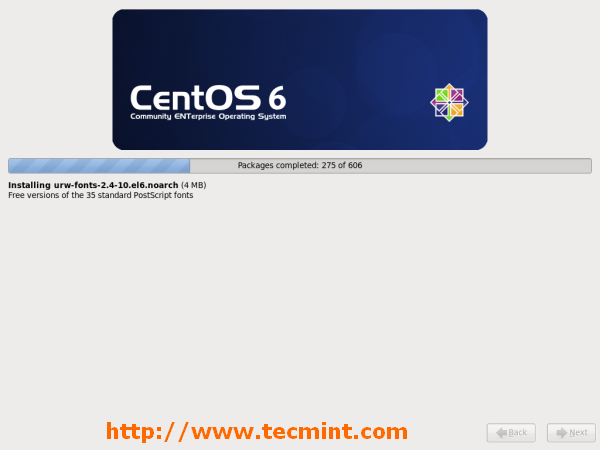
22. Installation process started. Relax… This may take Few Minutes.
23. Installation still in process…
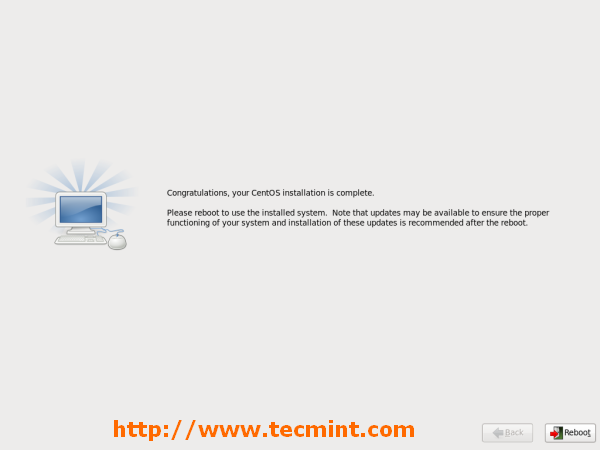
24. Installation Completed. Please remove installation media and Reboot system.
25. Restarting CentOS 6.4 system.
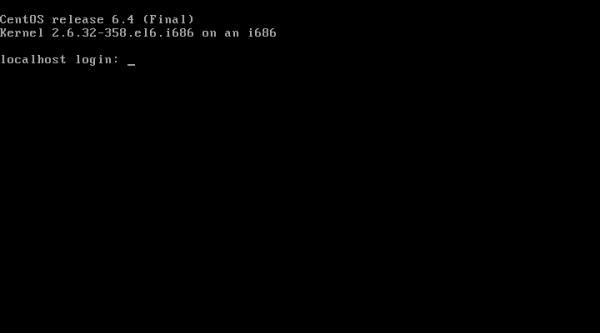
26. CentOS 6.4 Login Screen.
